Grower Tips for Hosta Elle Plugs
09/29/2016
The Elle Plugs you are receiving are very young hostas that are only a couple of months removed from the tissue culture process. Although they have been acclimated to a protected greenhouse environment, they will still require some tender care for the next few months. The following guidelines are based largely on our experience growing them here in Michigan. You may need to make adjustments for growing conditions in your area.
What you need to know about young, non-vernalized Elle plug hostas
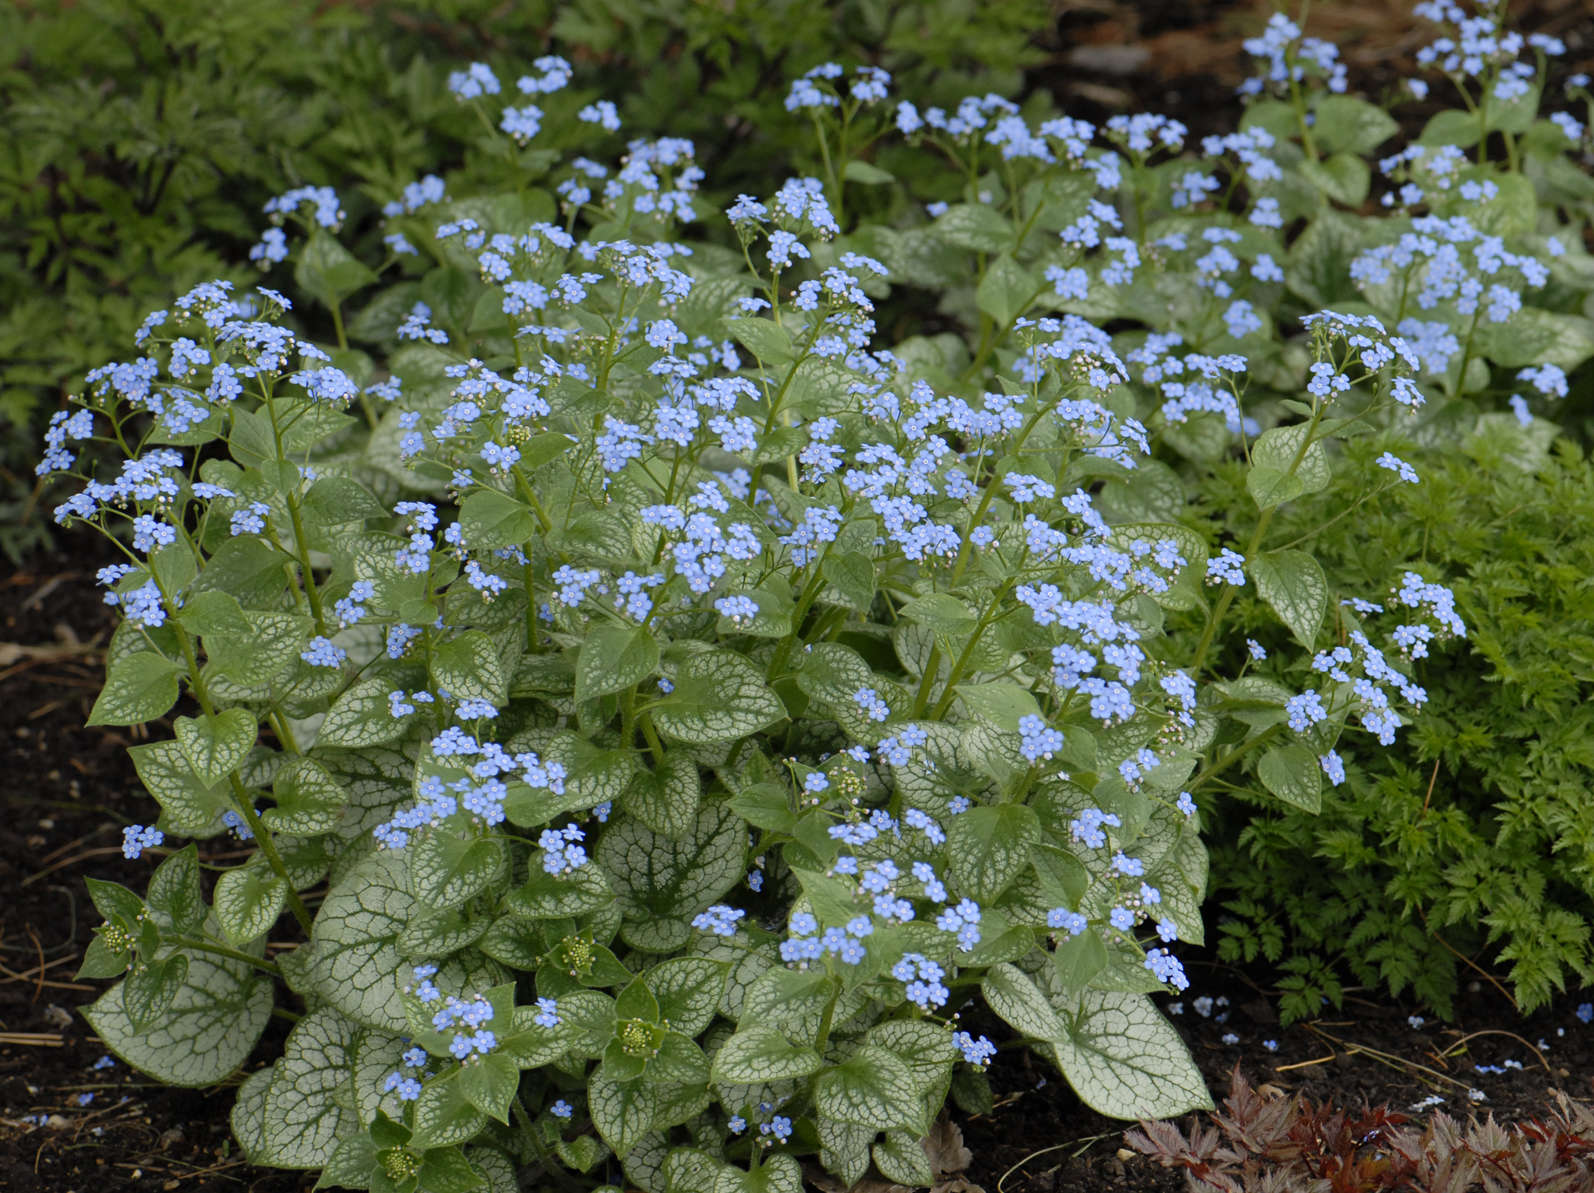
- Appearance — The coloring and variegation of young, non-vernalized, tissue cultured hostas is often quite different than hostas that have been vernalized and are more mature. Mature hosta coloring and variegation is typically exhibited after dormancy. Hosta coloring can also be influenced by heat and sun intensity. For example, blue hostas tend to turn green if exposed to high heat or direct sunlight. As a result, the young Elle Plug hostas you receive may not appear true-to-name when they first arrive. We ask that you reserve judgment until after they have had a dormancy. After that time, we would be happy to address trueness issues with you.
- Timing — Young Elle Plug hostas are meant to be potted up from late spring through midsummer, grown on through fall, be vernalized over winter, and then sold the following spring or summer. If you require a quick-turn product, please order our 3” potted or bare root hostas instead of the Elle Plugs.
- Special Care — Young hostas (like those in Elle Plugs) that are overly stressed by sun intensity, heat, or water sometimes halt their foliage production. Though this slows down the root and crown growth, it will not kill them. When this happens, a second flush of leaves often emerges 4 to 8 weeks later.
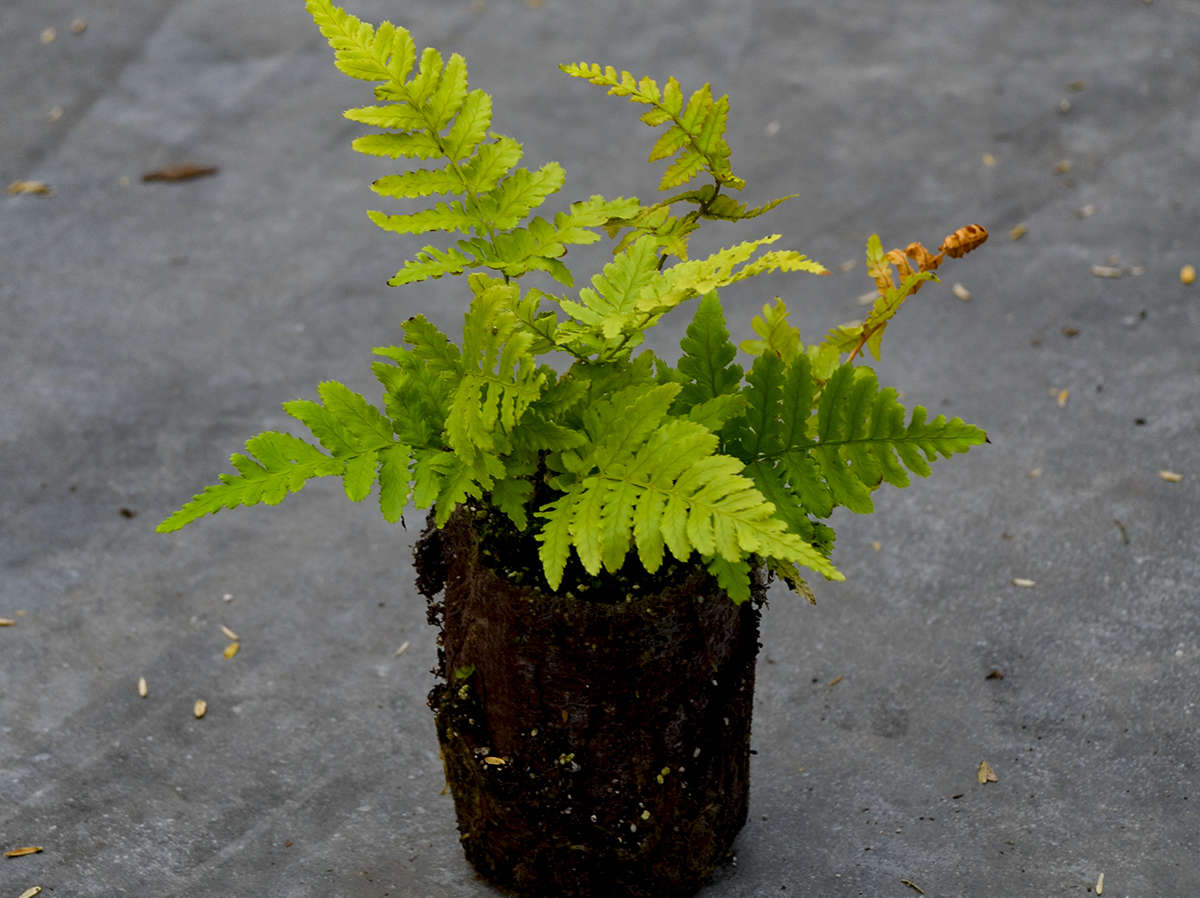
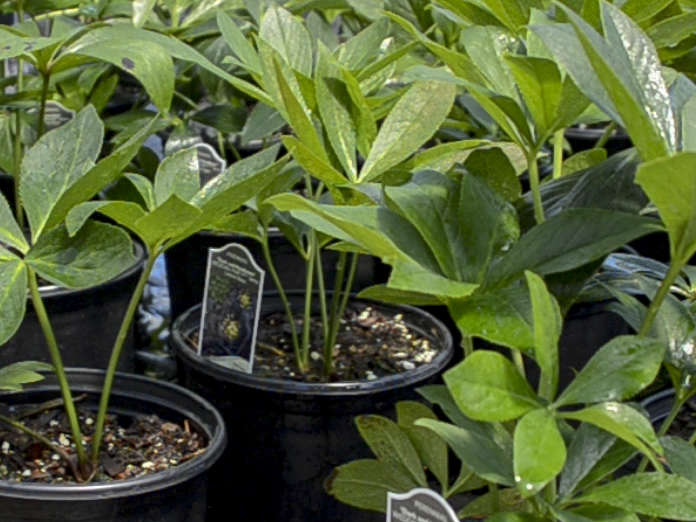
72ct Hosta Elle Plug
What to do when your plants arrive
72ct Hosta Elle Plug
- Upon receiving your Elle Plug hostas, you can either pot them up immediately or hold them over for up to several weeks in a greenhouse or shade structure with a minimum of 50% shade.
- Check the moisture status of the plugs. If they are dry, water them frequently until you pot them up. If they are wet, transplant them or hold them on a bench. Hosta plugs perform best when allowed to dry between waterings.
- Do not remove the paper sleeve around the Elle Plugs. It will degrade naturally after the plug is transplanted into a larger container.
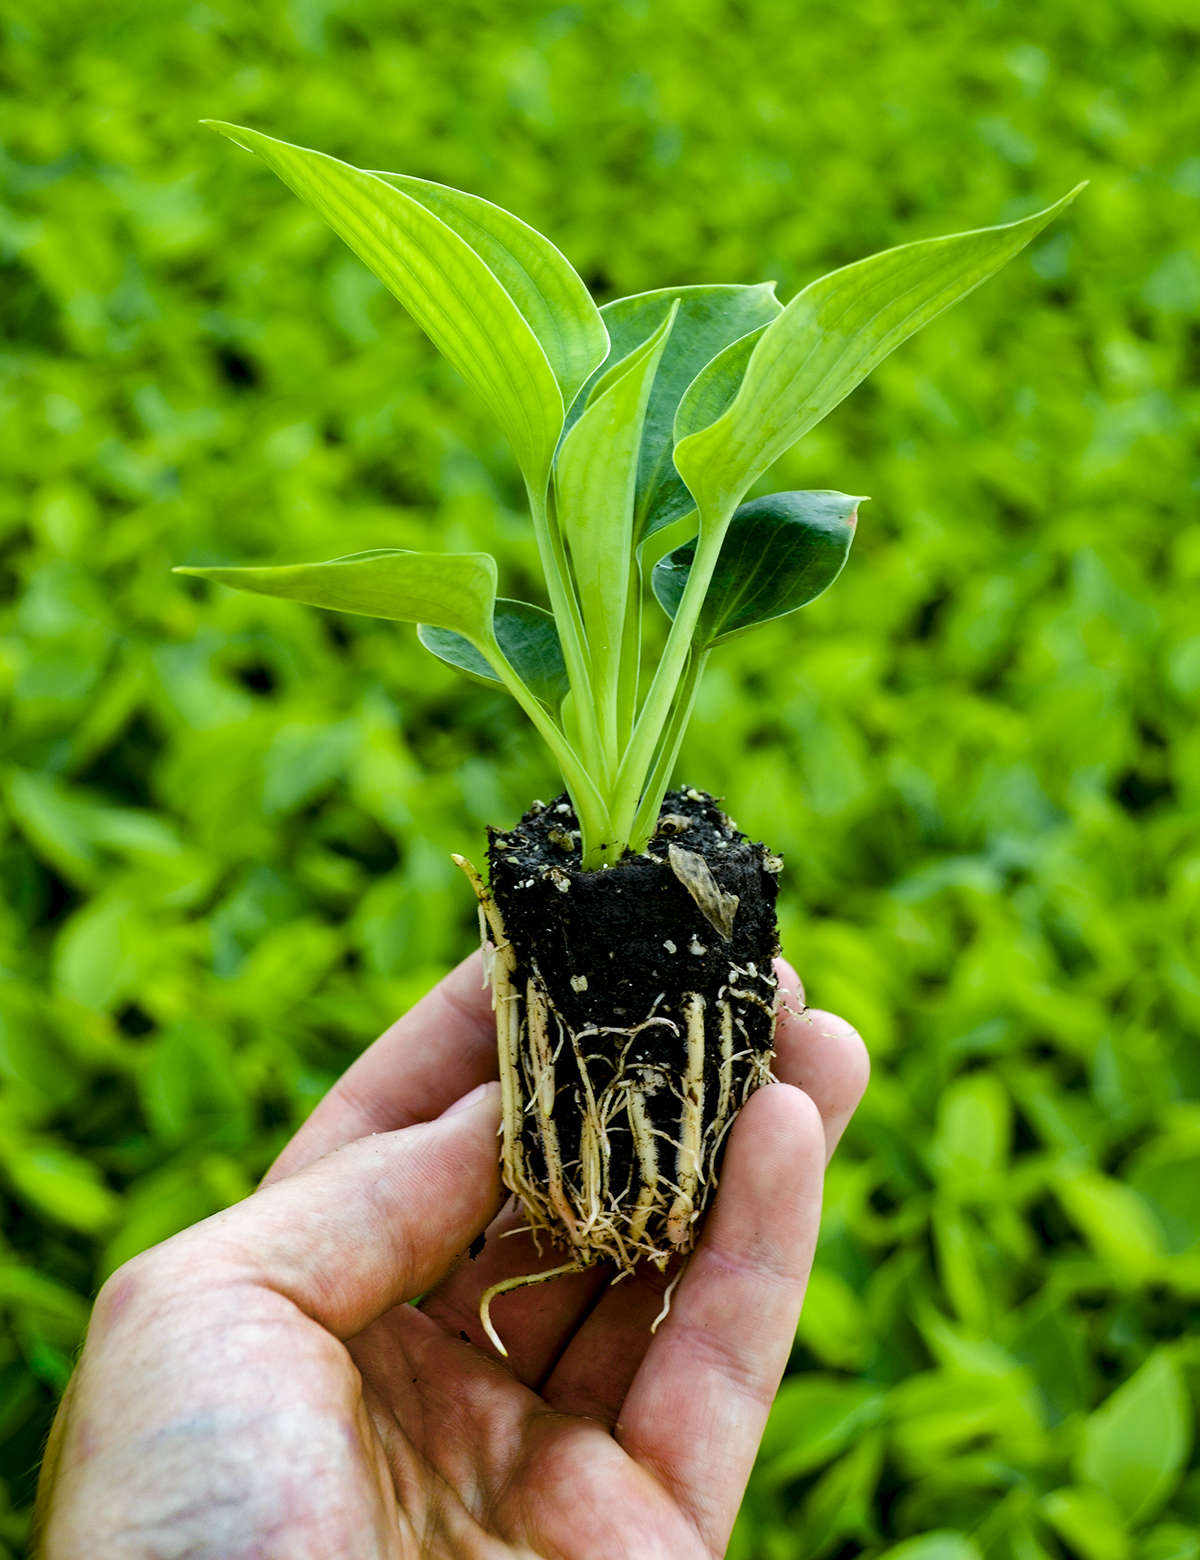
Transplanting Elle plugs
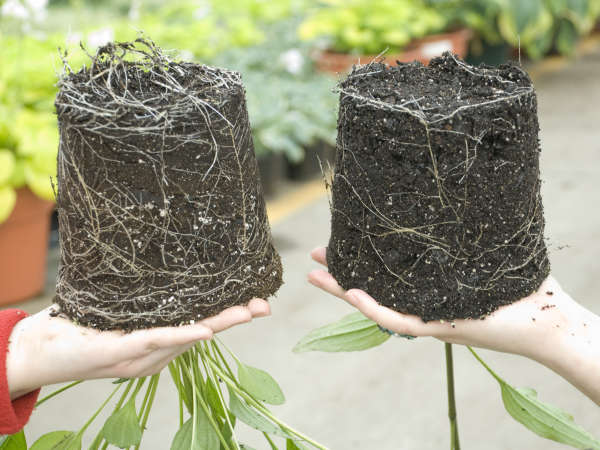
- Hand Transplanting — Hosta plugs are easy to transplant by hand. Gently grip the hosta by the crown, and slowly lift the plug out of the tray. The air space between the paper sleeve and the tray makes the plug much quicker and easier to transplant than traditional hosta plugs.
- The Paper Sleeve — The paper sleeve around the plug will degrade naturally when it is potted up into a larger container, so there is no need to remove it. It makes transplanting much easier and also helps to maintain the integrity of the root ball. This results in less transplant shock and more uniform growth for the plants.
- Potting Soil — Use a well-drained potting soil which contains 40%-60% bark content that passes a 5/8” screen. Since Elle Plug hostas require a longer growing time than more mature plugs, be sure to use a soil that is able to maintain good structure over a number of months.
- Planting level — When potting up Elle Plug hostas, the top of the Elle Plug should be about ¼” below the soil line of the finish pot.
Growing On
- Timing — Hosta plugs establish best in cooler temperatures. If transplanting in hot weather, be sure to take extra precautions with the shade cloth. See “Shading” below.
- Watering — Hosta plugs perform best when allowed to dry moderately between waterings. Water well immediately after transplanting and maintain moderate moisture levels during the first week after transplanting. Two weeks after transplanting, the hosta roots should be reaching into the new soil. Watering frequency should be reduced at this time, since constantly moist conditions slow root growth.
- Shading — Begin by growing the hosta under 50% shade in the north and up to 80% shade in the south. If transplanting in hot, sunny weather where temperatures exceed 80ºF, be sure to provide a greater amount of shade cover than usual to help the plants get established. Once the leaves of the hosta have made a canopy over the pot, the soil is no longer visible, and the heat of summer is beginning to subside, the shade covering maybe lessened or removed. Though this may cause the leaves to appear weathered, the increased sunlight will help to build up the reserves being stored in the crown of the plants.
- Fungicide — If good cultural practices are followed, there shouldn’t be a need to apply any preventative fungicides.
- Fertilizer — A constant feed of nutrients through the water system of 50 ppm N of a balanced fertilizer (i.e. 20-10-20) should be sufficient. If you prefer, a small amount of slow-release fertilizer can be incorporated into the potting mix instead. Avoid moderate to high fertility rates which can reduce root growth and increase crown rot.
- Dormancy — In the fall, the Elle Plug hostas will go dormant; the leaves will turn completely brown and lay flat on the soil. When this happens, the brown leaves should be removed by hand.
Overwintering Hostas
The following suggestions for overwintering hostas are based on our experience in Michigan. You may need to make adjustments for your climate.
Overwintering in Cold Frames
72ct Hosta Elle Plug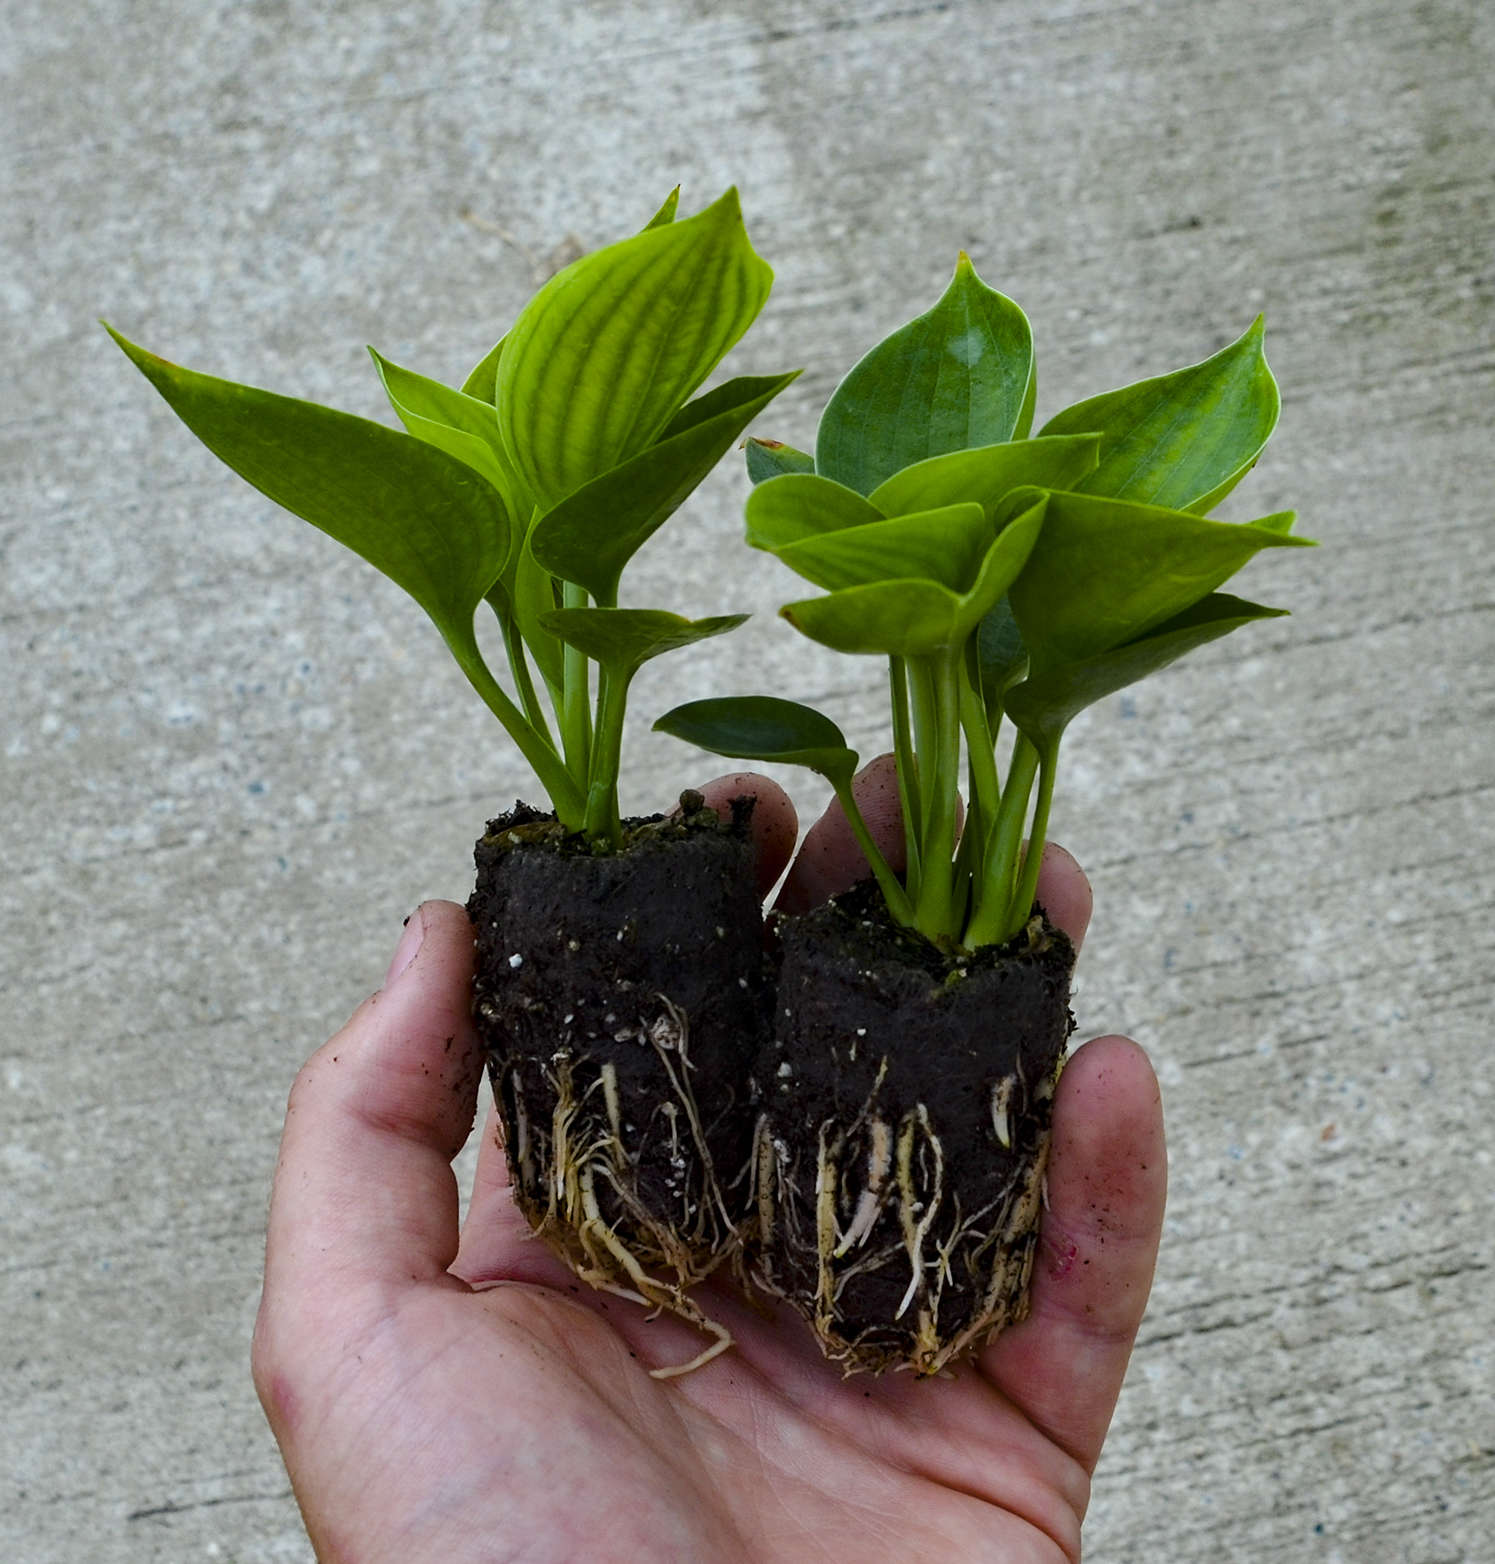
- Turn larger pots on their side if possible.
- Cover with a layer of microfoam and a layer of white copolymer. Be sure to remove this covering in early spring.
- Bait liberally for mice.
Overwintering in unheated structures covered with a white copolymer
This is an ideal method of overwintering potted hostas because it allows the hostas to develop naturally, but yet it provides protection from the extreme weather conditions of spring. Here are some guidelines:
- Place the pots inside the unheated structure and cover them with microfoam. Turn larger pots on their sides if necessary.
- Bait liberally for mice.
- As the warmer days of spring arrive, remove the microfoam cover from the plants.
- Once the volatile spring weather has subsided, the white copolymer can be taken off the structure and replaced with a 50% shade cloth. If you are growing blue hostas, a 70% shade cloth is better because it helps them retain their blue coloring longer.
- If necessary, open the ends of the houses to provide ventilation.
Overwintering in minimally heated poly houses (approximately 35ºF)
A highly recommended method of overwintering hostas. Normally, the root system of hostas grown in a minimally heated poly house develop faster than they would in their natural environment. We do not recommend growing potted hostas in a warm house because higher temperatures encourage top growth rather than root growth. Here are some guidelines:
- Place the plants inside the minimally heated poly house and do not cover them.
- Bait liberally for mice.
- Maintain temperatures above freezing—35ºF works well.
- After the volatile spring weather has subsided and temperatures have moderated, the plants may be moved outside for finishing off. Be sure to provide at least 50% shade in the north and 80% shade in the south.